Please reach out to support@incentivio.com if you would like to start using these messages.
This article will help explain how to create and edit the email templates that you can use to communicate with customers after they order. For instructions on sending messages please see our documentation on Sending Order Messages
Finding Your Email Templates:
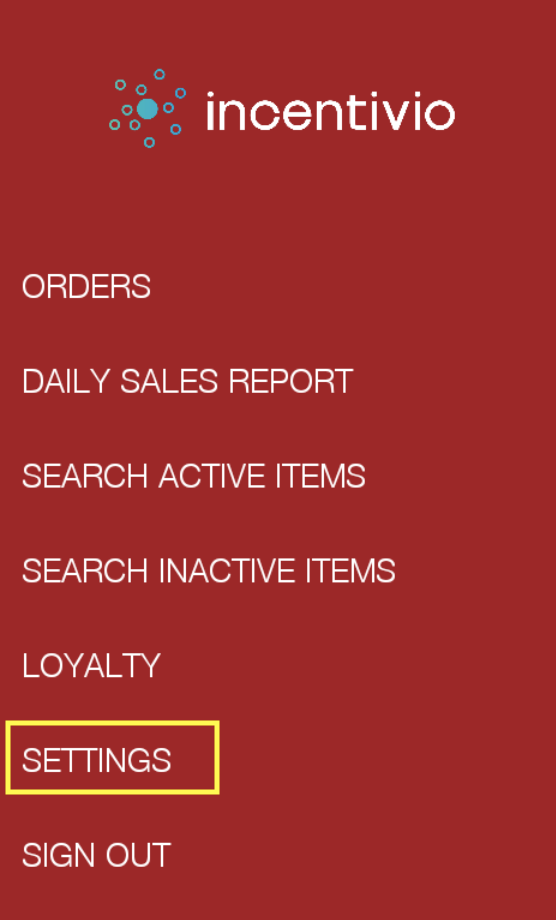
- Navigate to "Settings"
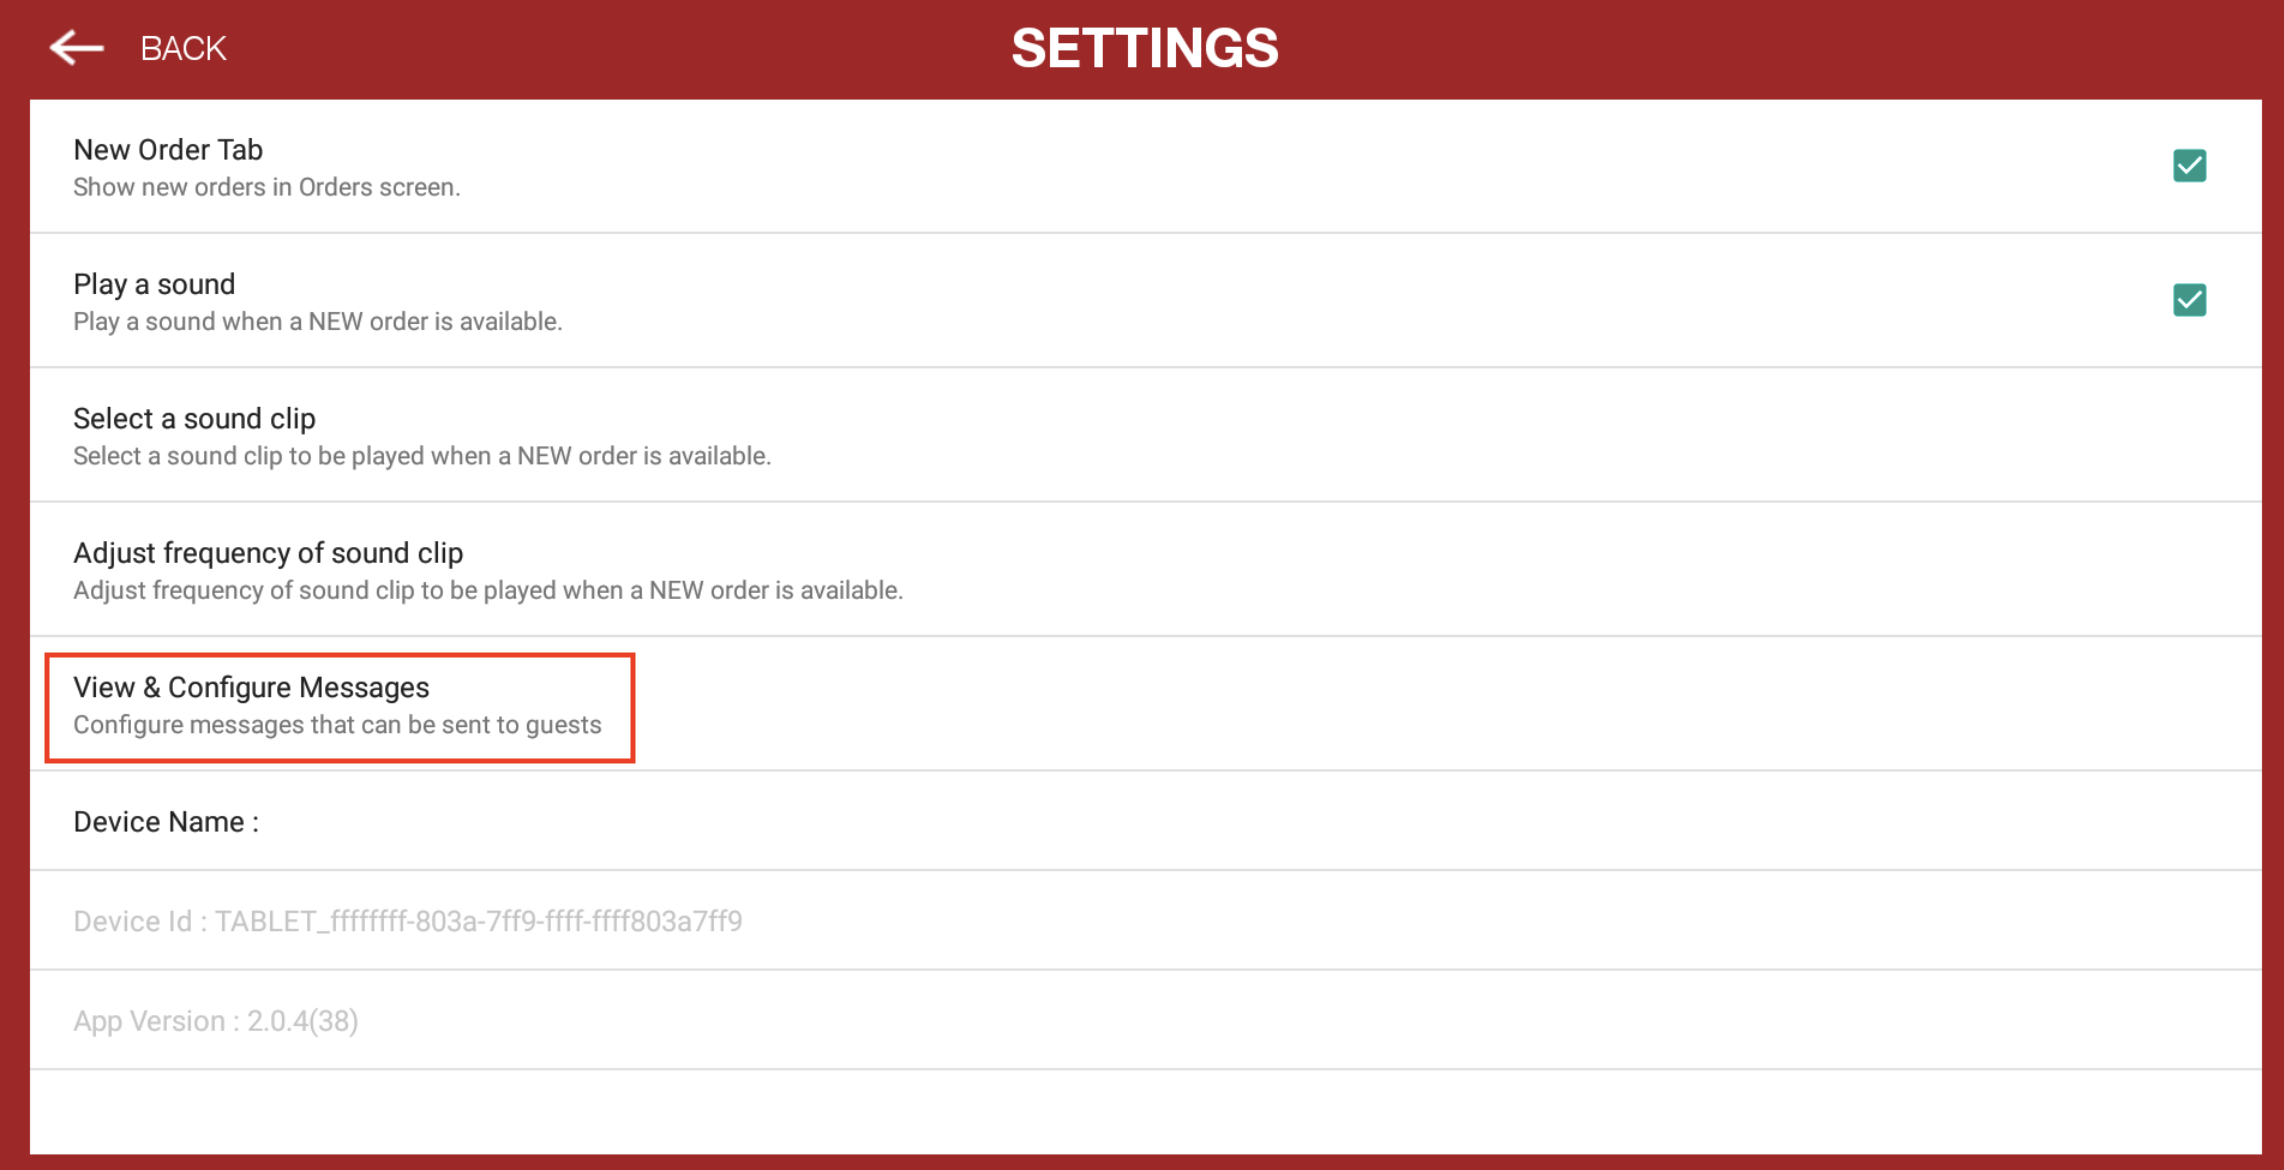
- Click "View & Configure Messages"
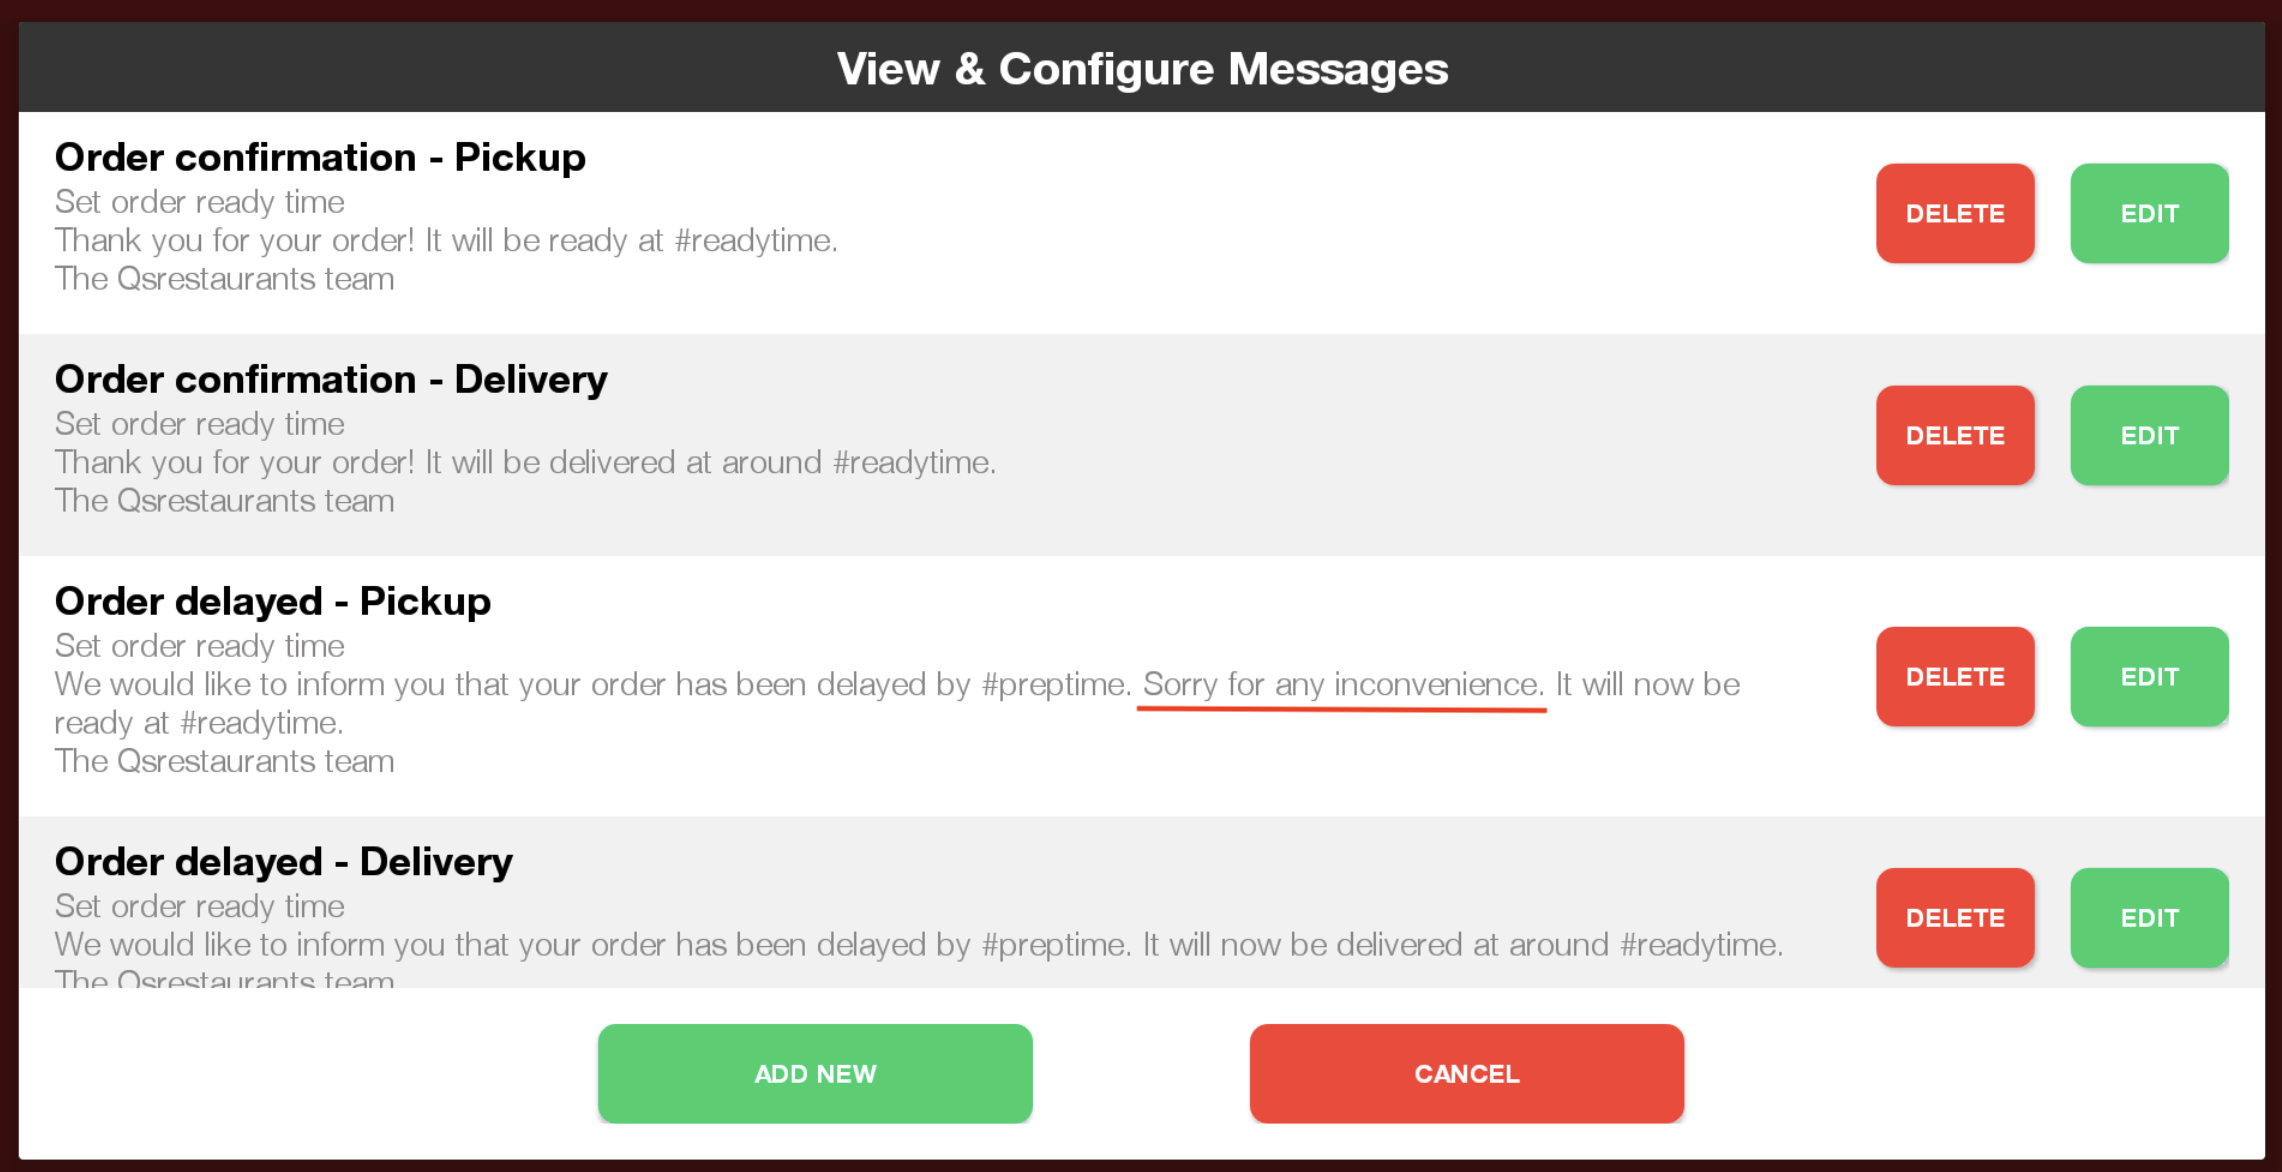
- Here, you can see all your available messages

Above are the four default message templates that will be provided with your app.
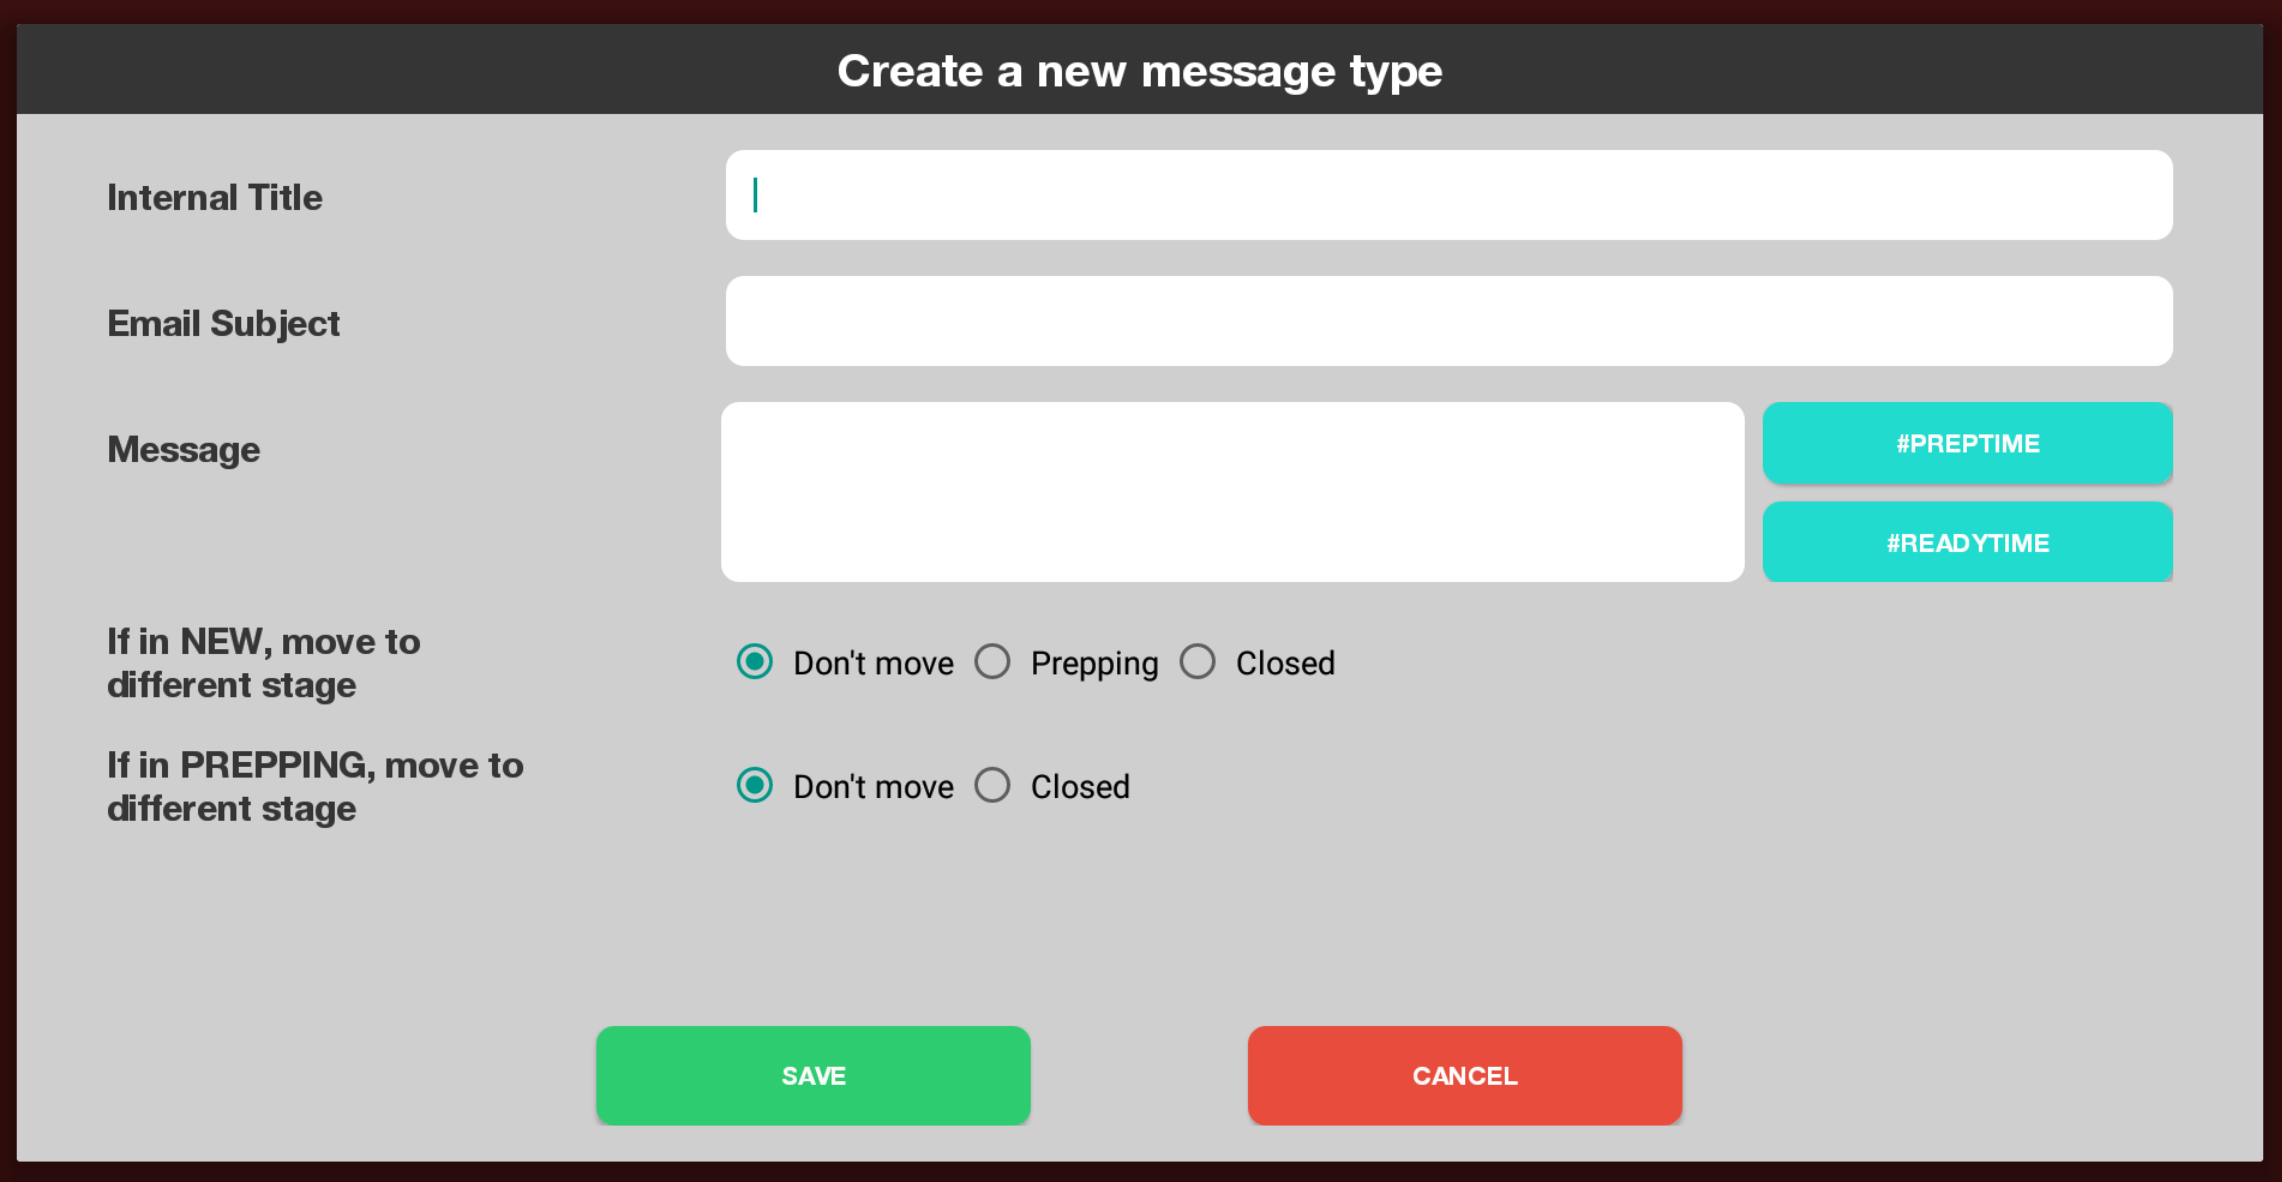
Message Content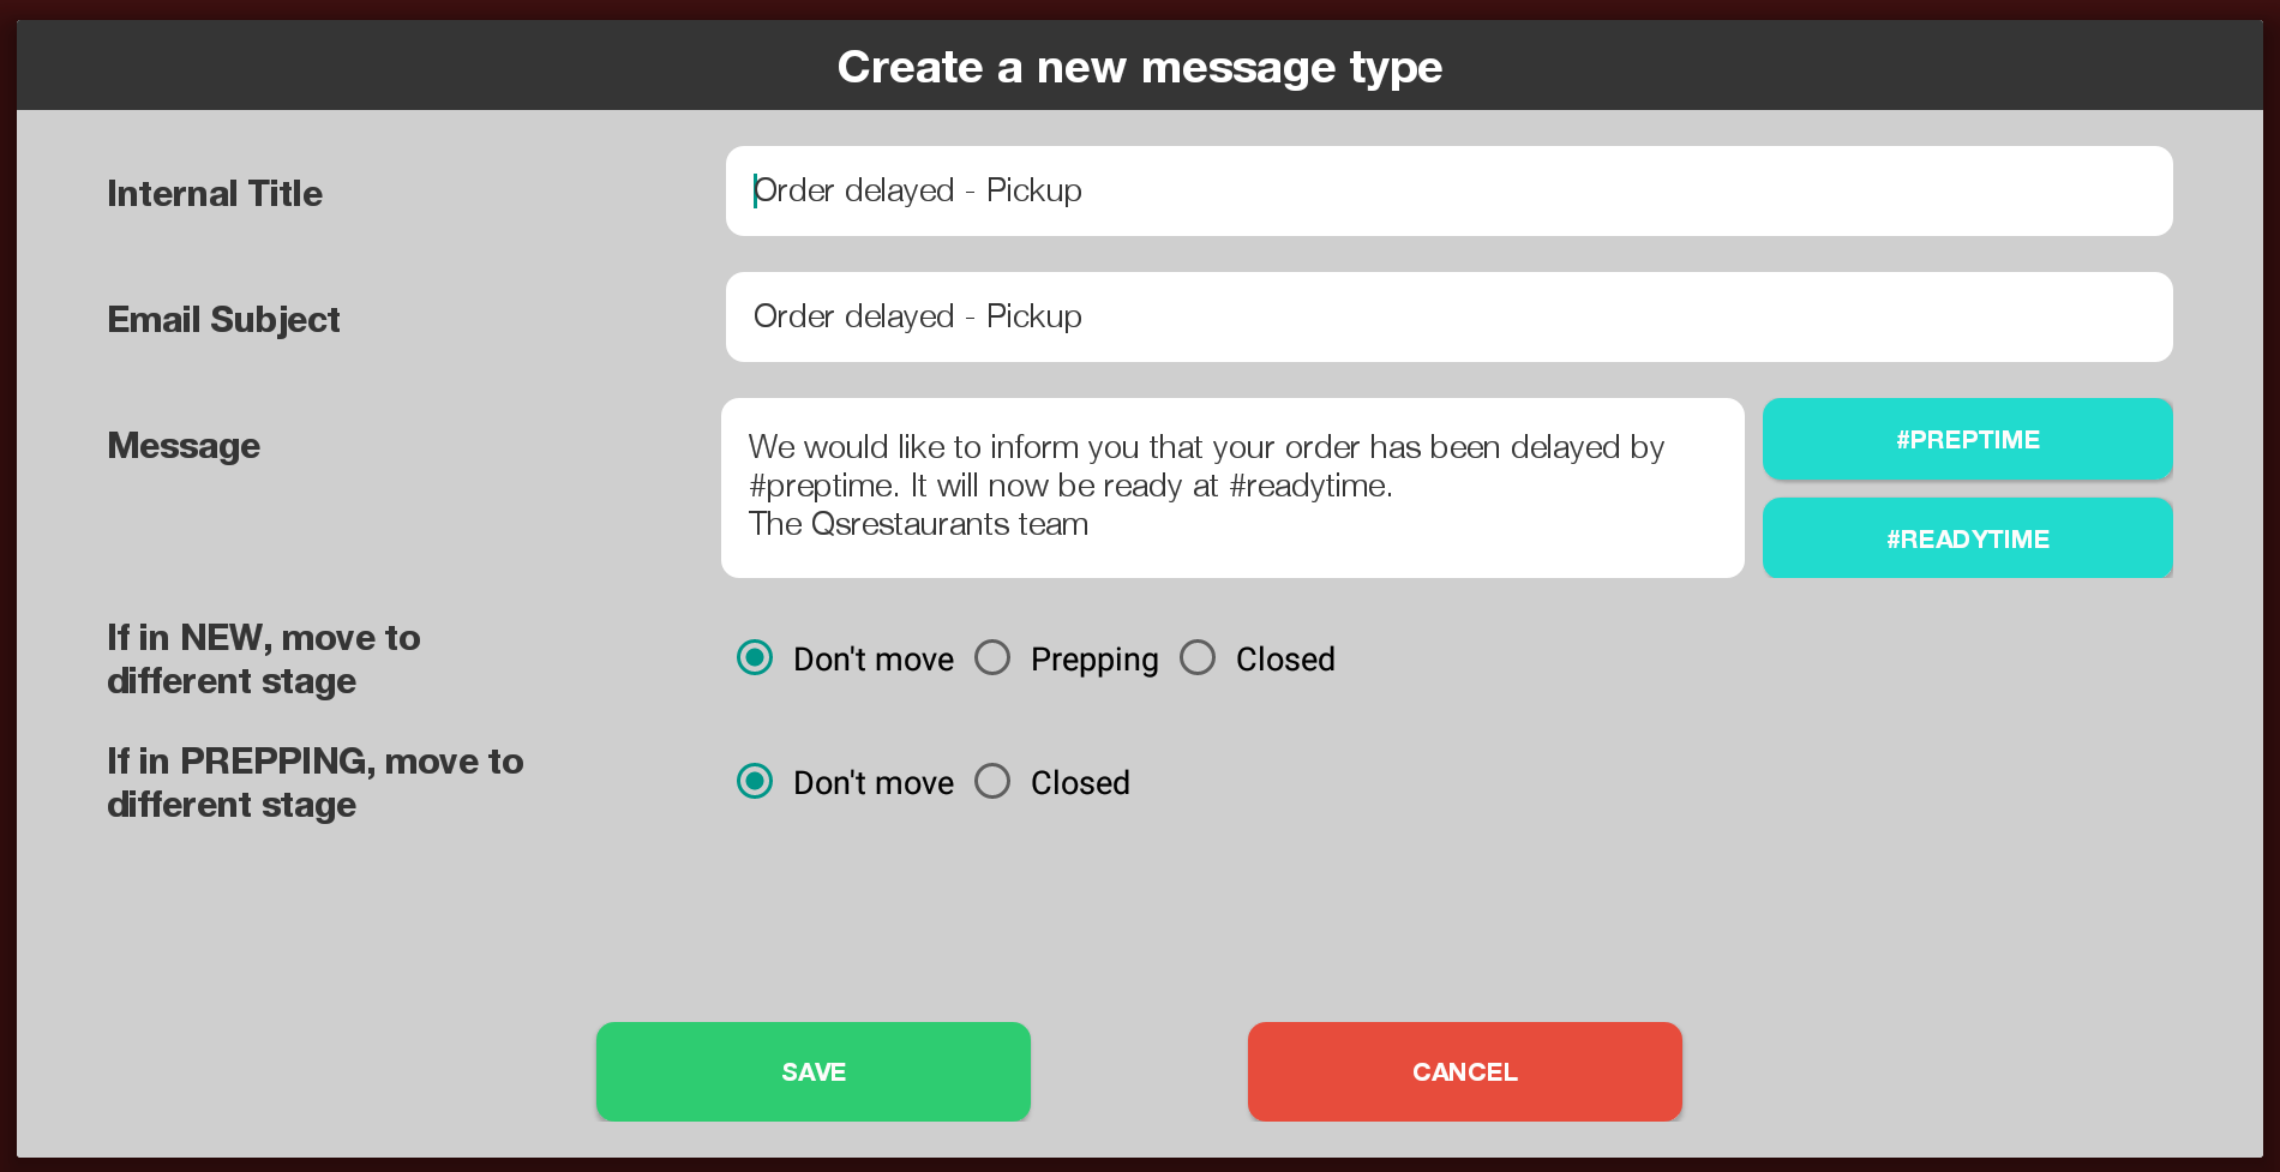
- Internal Title refers to the name of the message and is only visible in the app
- Email Subject will be the subject line of the email for this message and is visible to the customer
- Message contains the body of the message that will be sent to the customer
- If in NEW, move to different stage - this should be changed only if you would like to automatically move New orders to a new stage after this message is sent.
- For example, if you receive a new order, and would like to send a message to confirm it has been received and is being made, you would likely want to move the order to "Prepping". To do this, you could select "Prepping" in this section.
- If in PREPPING, move to a different stage - this should be changed only if you would like to move an order which is in Prepping to Closed.
- For example, if the message is to let the customer know the order is ready, you would select "Closed" in this settinng. However, if you have a message that an order is delayed, you would want to keep this order as "Prepping" when sending this message - and therefor leave this setting as "Don't move".
- For example, if the message is to let the customer know the order is ready, you would select "Closed" in this settinng. However, if you have a message that an order is delayed, you would want to keep this order as "Prepping" when sending this message - and therefor leave this setting as "Don't move".
- The #PREPTIME and #READYTIME placeholders are used to specify where in the message those times will show up when the user selects a time while sending the message. To add these to your message body, simply click on the blue button for the placeholder you would like to use.
Creating a new message
- Click "ADD NEW"
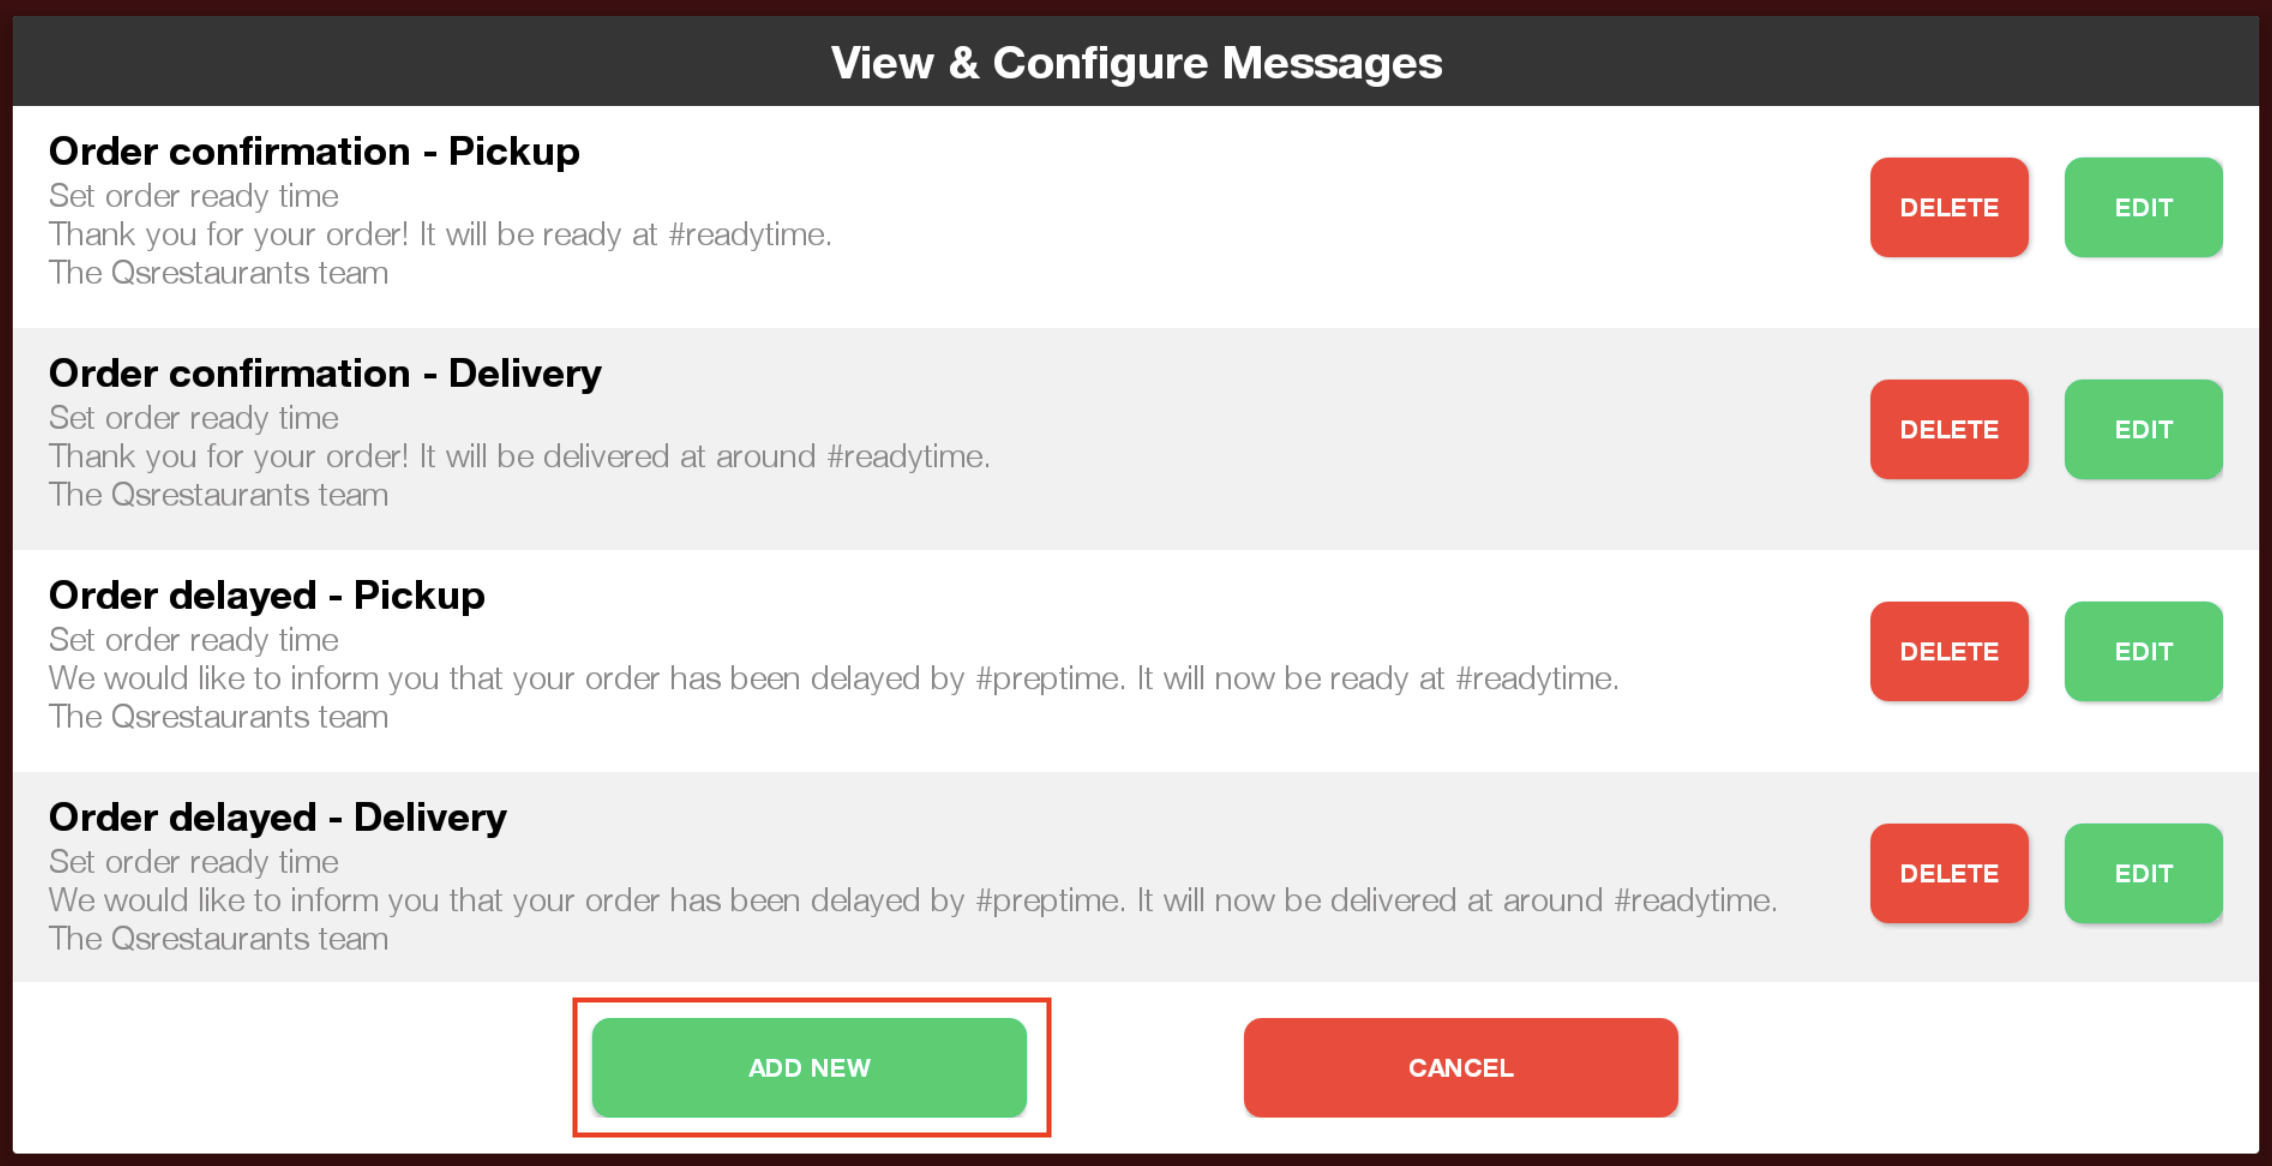
- Fill out the information for your message
- Once you have your message information filled in, click "SAVE"
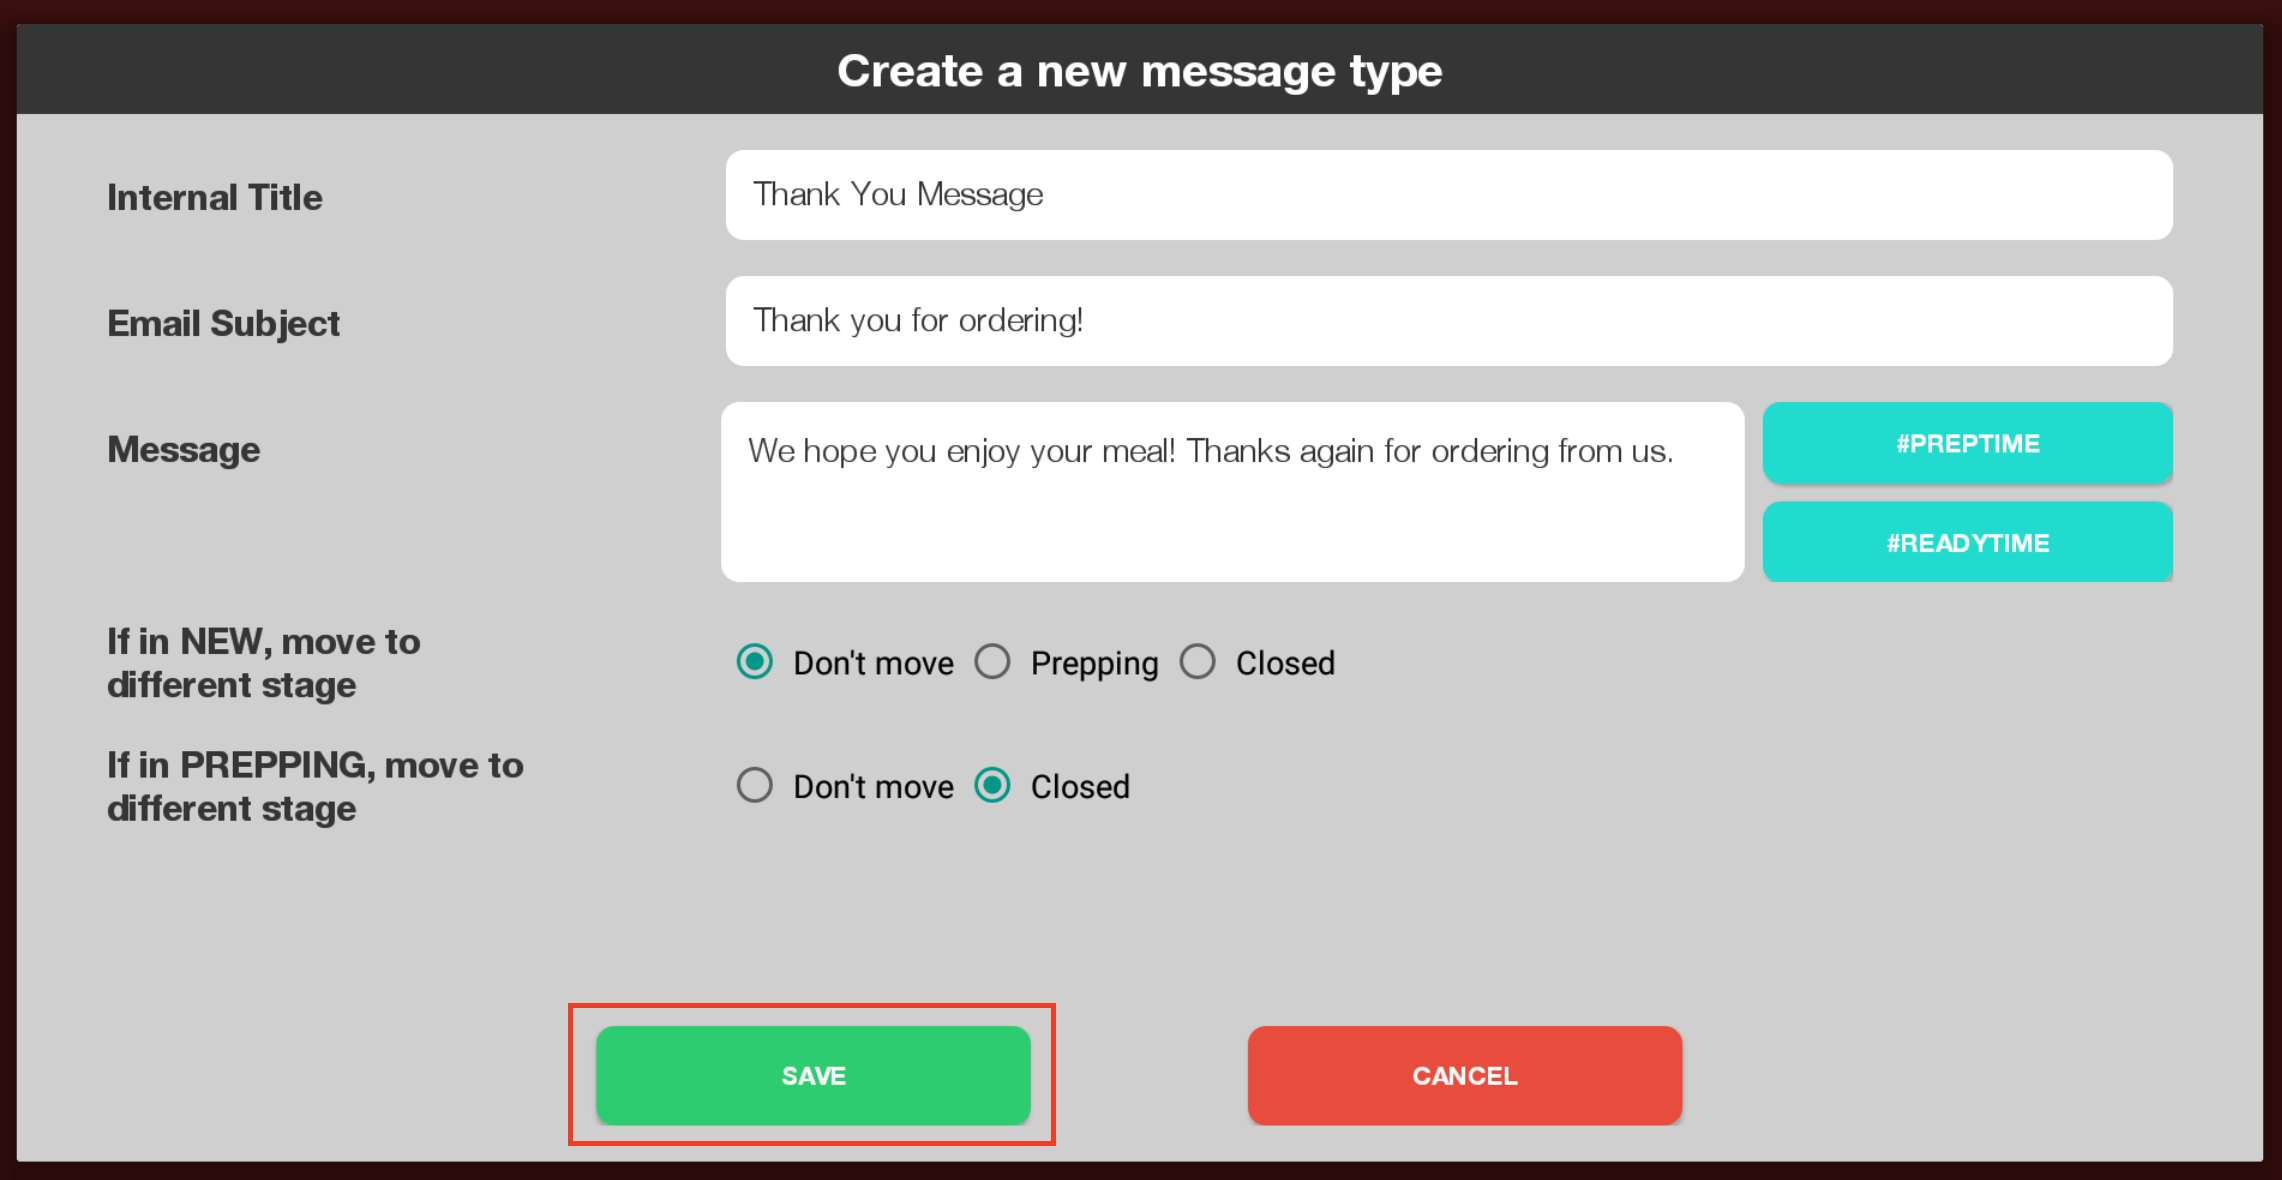
- You will now be able to use your new message!

Editing Messages
- You can edit your messages, including the provided template messages by clicking "EDIT"

- Change the content as you wish
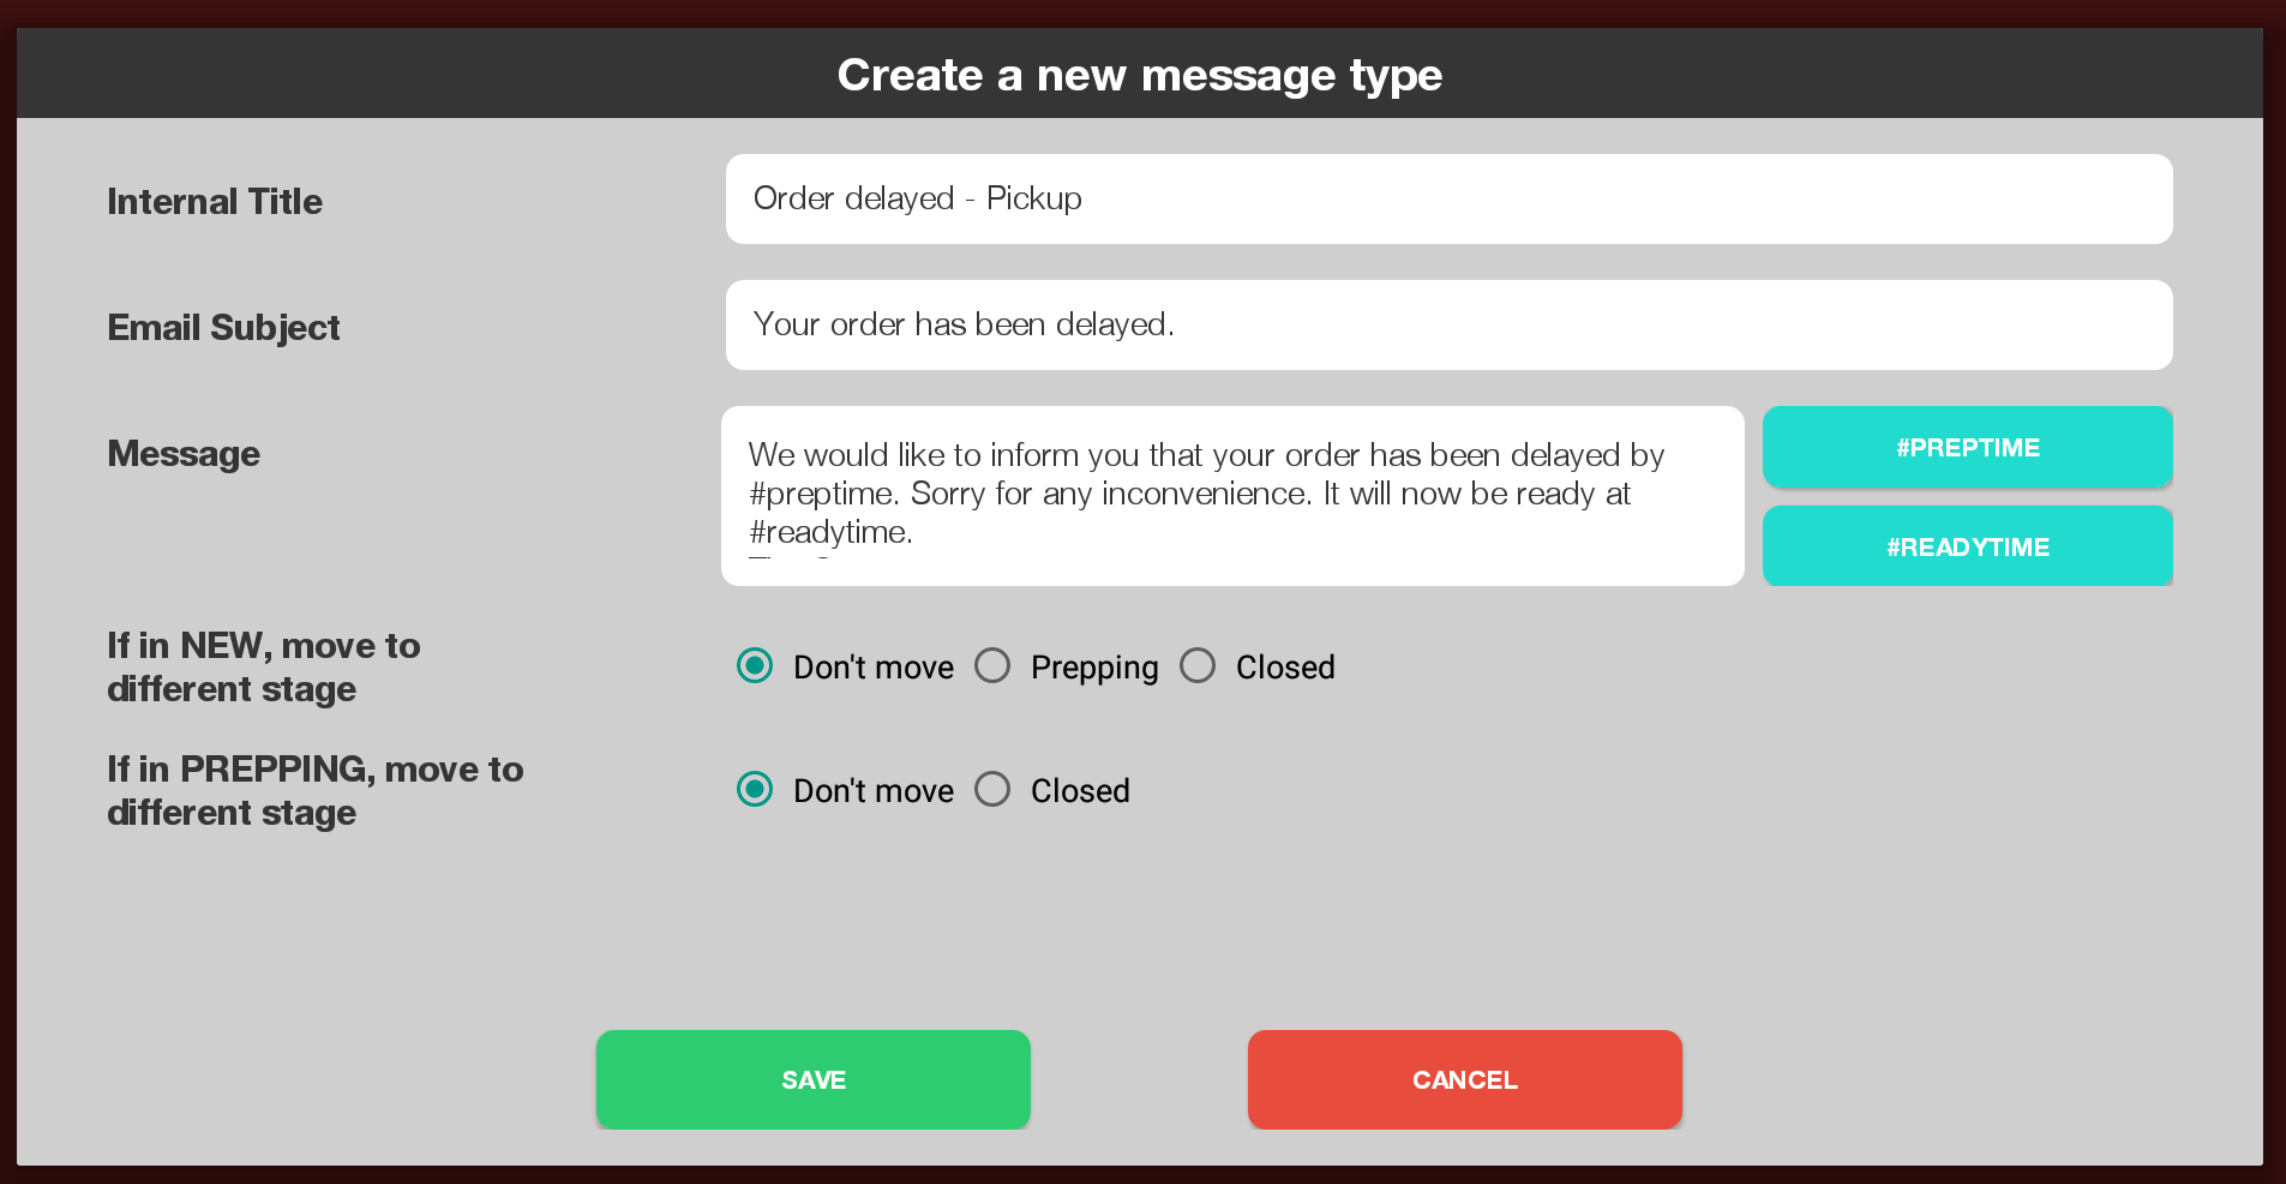
Here I edited the Email Subject and Message - Click "SAVE" to keep the edits to your message, or cancel if you decide to discard your changes
For instructions on sending messages please see our documentation on Sending Order Messages